DIY Monster Mask! Just like the kids in the Monster Boogie Music Video!
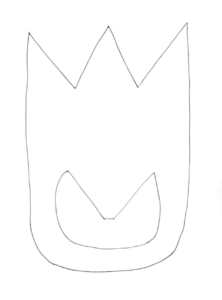
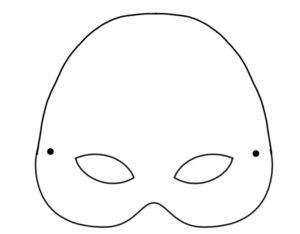
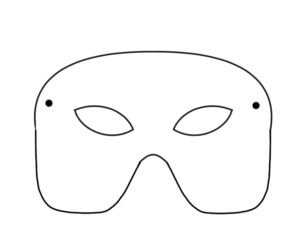
Mask Template
Foam Sheets – multiple colors
Yarn
Tape or glue sticks
Scissors (have a grownup help!)
Optional: pipe cleaners, fake fur, feathers, pompoms, etc.
Cup and/or circular containers in various sizes (for tracing circles)
Instructions:
Step 1) Print your mask template(s) and cut them out (have a grownup help!)
Step 2) Trace your mask template(s) onto foam sheets.
Step 3) Cut out your foam mask (have a grownup help!) and punch holes using scissors or a pen on either side where the yarn will go to tie the masks on.
Step 4) Trace circles (use various sizes for lots of different eyes!) on white and other colors to make eyes (whites and irises).
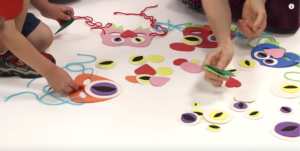
Step 5) Draw other shapes for pupils, noses, fangs, hair, horns, pupils, etc. We recommend trying a few different types of shapes for each. Pupils: ovals, circles, diamonds. Noses: hearts, triangles, ovals, circles. Fangs and horns: long triangles, curved triangles. See photo for ideas!
Step 6) Cut out all shapes (have a grownup help!)
Step 7) Lay out all the shapes – including pipe cleaners and any extra fun supplies you may have – and assemble your masks. Get creative! Monsters can have any number of eyes, noses, teeth, horns, and more!
Step 8) Once you’ve laid out your monsters, use tape or glue to secure your pieces.
Step 9) Thread yarn through the masks’ holes – we did one piece through either side and doubled it up.
Step 10) Place your mask on your face and secure it with the yarn.
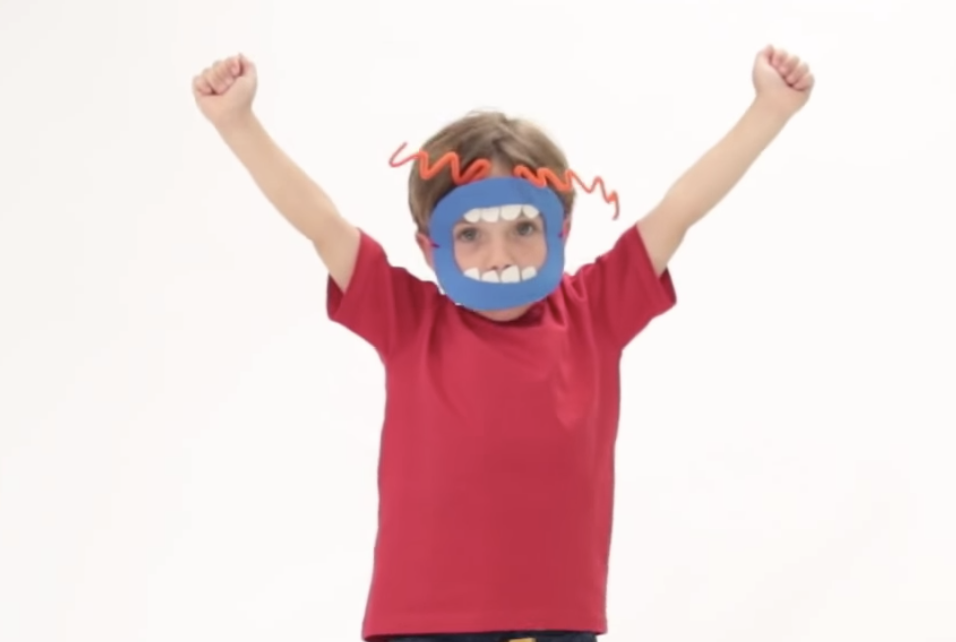
Step 11) RAWRRRR!!!
Optional: Make monster feet by using this great template